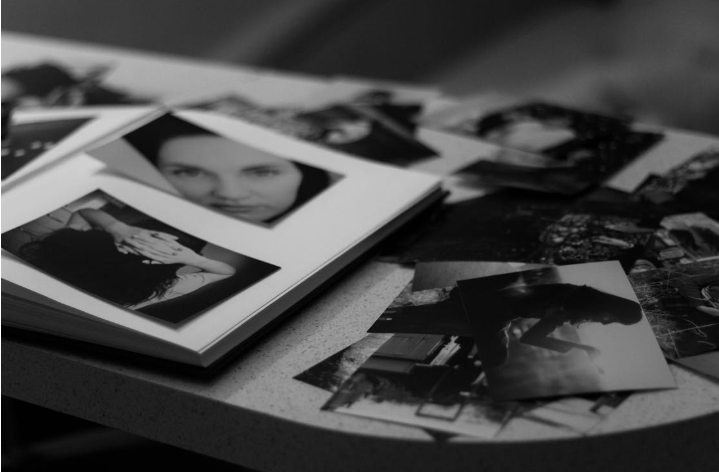
Scanning old photos doesn’t have to be a frustrating weekend project. Whether you’re using a photo digitizing service or doing it yourself at home, a few clever shortcuts can save time and ensure great results.
In this blog, you’ll find simple tips and expert tricks to make photo scanning stress-free. By following them, you’ll keep your memories intact while getting crisp, clear digital copies in no time.
1. Choose the Right Equipment for Quality Scanning
Selecting the correct equipment makes all the difference. High-resolution scanners deliver sharper images with richer tones.
Flatbed scanners are ideal for fragile prints, preserving fine details while protecting delicate surfaces from scratches. Professional services, however, often use industrial-grade scanners that can process hundreds of photos efficiently.
Modern scanning technology can also revive faded images. Advanced software removes dust, corrects tones, and balances contrast, resulting in cleaner, more vibrant digital photos. Choosing professional services ensures consistent results across your entire collection.
2. Organize Photos Before Scanning
Keeping your photos organized saves time and ensures smoother scanning sessions. Start by sorting photos by event, date, or person to maintain proper order and minimize confusion during the digitizing process.
Old albums often contain mixed sizes and damaged prints. Gently separate torn edges and remove plastic sleeves before scanning. Wearing soft gloves helps prevent fingerprints or smudges that can affect image quality.
Label each batch to streamline the process. Use short notes or add sticky labels to identify specific years or occasions. These simple steps make digital organization later and help avoid mix-ups.
3. Prepare Photos for Best Results
Preparation is key to achieving crisp, clear results. Carefully wipe each photo using a microfiber cloth to remove dust. Dirt or debris can appear as unwanted spots in digital copies.
Flatten curled or bent photos before scanning to avoid distorted images. Place them under a heavy book for a few hours to restore shape. Clean surfaces reflect light evenly, ensuring sharp and consistent digital results.
Handle prints by their edges to maintain condition. Oils from fingers can cause discoloration over time. Keep photos clean during preparation helps preserve your memories beautifully in digital form.
4. Use the Correct Scanning Settings
Proper scanner settings directly affect the final output. Resolution, format, and color mode all influence the quality of your images. Selecting the right options produces sharper, more accurate reproductions.
- Resolution: Choose at least 300 DPI for standard photos. Go higher for enlargements or professional restoration work.
- Color Mode: Opt for color scanning even with black-and-white images. This captures subtle undertones and enhances details.
Save files in a lossless format, such as TIFF, for long-term preservation. For everyday sharing, JPEG works best and saves storage space. Consist settings ensures every scanned image maintains the same quality.
5. Back Up and Store Your Scanned Photos
Backing up digital files is essential to keeping your memories safe. Store copies on multiple platforms to prevent accidental loss. Cloud storage offers convenience, while external drives add extra safety.
- Cloud Storage: Services like Google Drive or Dropbox make sharing simple.
- External Drives: Portable devices ensure quick access without internet dependency.
Organize folders to match your original photo arrangement, such as “Family Events 1990s.” Regularly check files and replace outdated backups with updated versions. Keeping duplicates across multiple devices provides peace of mind and protection against data loss.
6. Edit and Enhance Digitized Images
Editing improves scanned photos and enhances their overall presentation. Using editing tools help adjust lighting, contrast, and sharpness, while cropping gives each image a clean, focused look.
Software like Adobe Photoshop or free alternatives like GIMP help fine-tune results. Even small adjustments can make dramatic differences in color and depth. Filters should be used carefully to preserve authenticity.
For larger batches, batch editing tools save time while maintaining uniform adjustments. Balanced enhancement keeps scanned photos true to their original appearance. Consistent editing ensures every picture shines with renewed life.
7. Let Professionals Handle Fragile or Damaged Photos
Damaged photos often need extra attention and expertise. Professional scanning services specialize in restoring old and delicate prints. They use advanced tools that revive torn or faded images safely.
Manual scanning of brittle photos can cause further damage. Professional technicians handle restoration using safe techniques and digital tools. Their experience ensures each photo receives care without compromising quality.
Entrusting a reliable service guarantees efficiency and long-lasting results. Many services offer restoration, color correction, and resizing in one process. Professional expertise saves time while protecting irreplaceable moments.
Bottom Line
Scanning old photos creates lasting digital archives of precious memories. Organized preparation, proper equipment, and accurate settings produce beautiful digital images, while proper backups ensure your photos remain safe for generations.
Preserve your memories effortlessly with Smooth Photo Scanning. We makes photo digitization simpler, faster, and economical. Our skilled technicians handle each print with care, using advanced scanners and enhancement tools for flawless results.
Whether restoring vintage family portraits or digitizing an entire collection, Smooth Photo Scanning ensures every detail is beautifully captured. Visit our website today to relive your treasured moments in stunning digital clarity.
